This article shows you how to build a project using angular or material lite design. In this article, we use mdl-template and build its clone using angular or material-design lite. For this purpose we need to perform the following steps:
- install angular cli
- serve the application
- install material lite design
- generate components
- make changes to the application
- Routing the modules
- Deployment
For this purpose, we use an mdl template. Simply copy pastes all of its HTML pages, styling, and images in angular project. Firstly we create a page template which remains the same for each page and the template includes mdl-waterfall header or footer. Then create four components one for each page. By using router-outlet tag include these components into the template. Add images into the assets folder. Add consistent style for the whole website in the styles.css file and add private style for a specific component in the components.css file. Route the modules give them the path. See the whole changes in the browser window.
Prerequisites
Before you begin, make sure your development environment includes Node.js® and an npm package manager.
Node.js
Angular requires Node.js version 8.x or 10.x.
- To check your version, run node -v in a terminal/console window.
- To get Node.js, go to https://nodejs.org/en/
npm package manager
Angular, the Angular CLI, and Angular apps depend on features and functionality provided by libraries that are available as npm packages. To download and install npm packages, you must have an npm package manager.
This Quick Start uses the npm client command line interface, which is installed with Node.js by default.
To check that you have the npm client installed, run npm -v in a terminal/console window.
Install Angular CLI
In this project first, we install the Angular CLI. We use Angular CLI to create projects, generate application and library code, and perform a variety of ongoing development tasks such as testing, bundling, and deployment.
Install the Angular CLI globally.
To install the CLI using npm, open a terminal/console window and enter the following command:
- Run npm install –g @angular/cli
- Run ng to see all the available commands
- Run ng [command name] –help for more detailed help about any command
Create a workspace and initial application
A workspace contains the files for one or more projects. A project is the set of files that comprise an app, a library, or end-to-end (e2e) tests. For this tutorial, we will create a new workspace.
To create a new workspace and initial app project we need to follow the following steps:
- Create a workspace folder provide the name angular
- Run the CLI command ng new and provide the name portfolio, as shown in the picture ng new portfolio
- The ng new command prompts you for information about features to include in the initial app project. Enter yes to add angular routing
- Chose a style-sheet format (CSS, SCSS, SASS, less, stylus). Here we chose CSS. The Angular CLI installs the necessary Angular npm packages and other dependencies. This can take a few minutes.
It also creates the following workspace and starter project files:
- A new workspace, with a root folder named portfolio
- An initial skeleton app project also called app (in the src subfolder)
- An end-to-end test project (in the e2e subfolder)
- Related configuration files
The initial app project contains a simple Welcome app, ready to run.
Serve the Application
Angular includes a server so that you can easily build and serve your app locally.
- Go to the workspace directory cd portfolio.
- Launch the server by using the CLI command ng serve, with the –open option.
- You can also write it ng s –o or ng serve –option
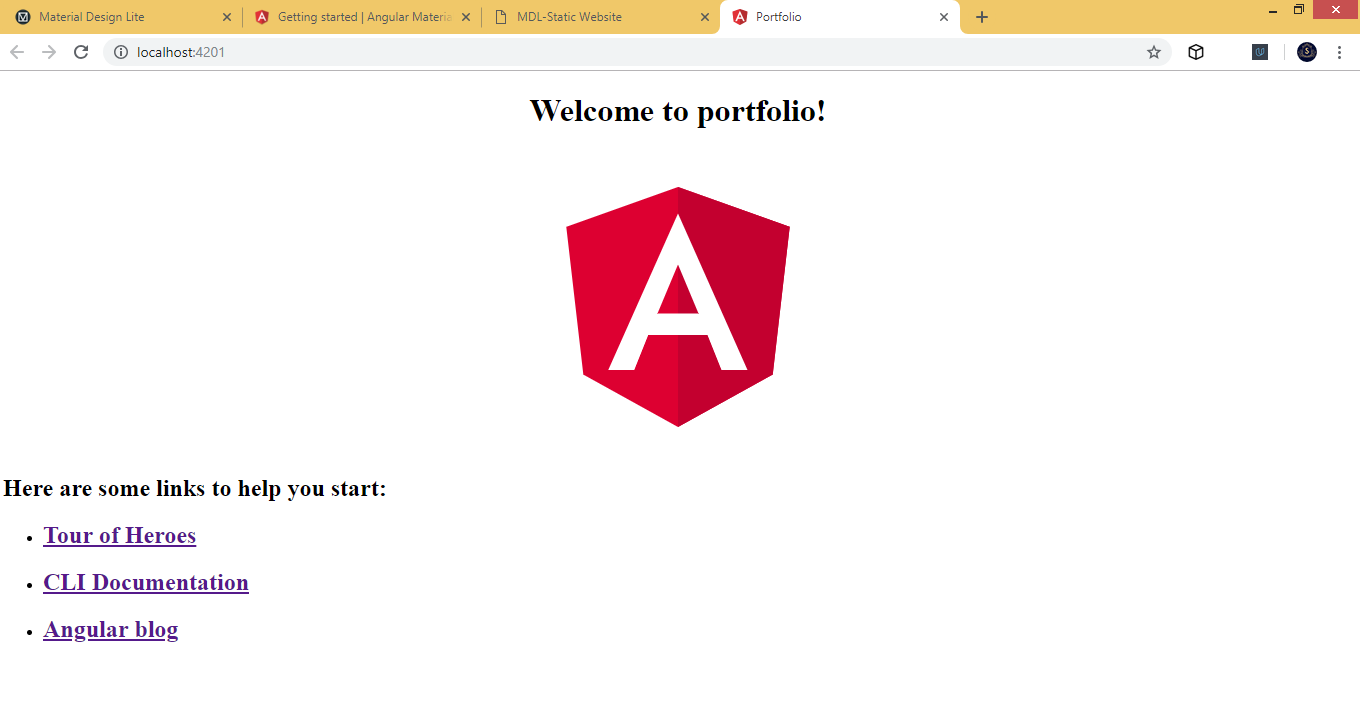
You can see the app running in your browser. The ng serve command launches the server watches your files and rebuilds the app as you make changes to those files. The –open (or just -o) option automatically opens your browser to http://localhost:4200/.Your app greets you with a message:
Install Material Design Lite
Install material design lite using npm. Include the Material design Lite CSS and JavaScript files in each HTML page in your project.
To install the Material Design Lite using npm, open a terminal/console window and enter the following command:


