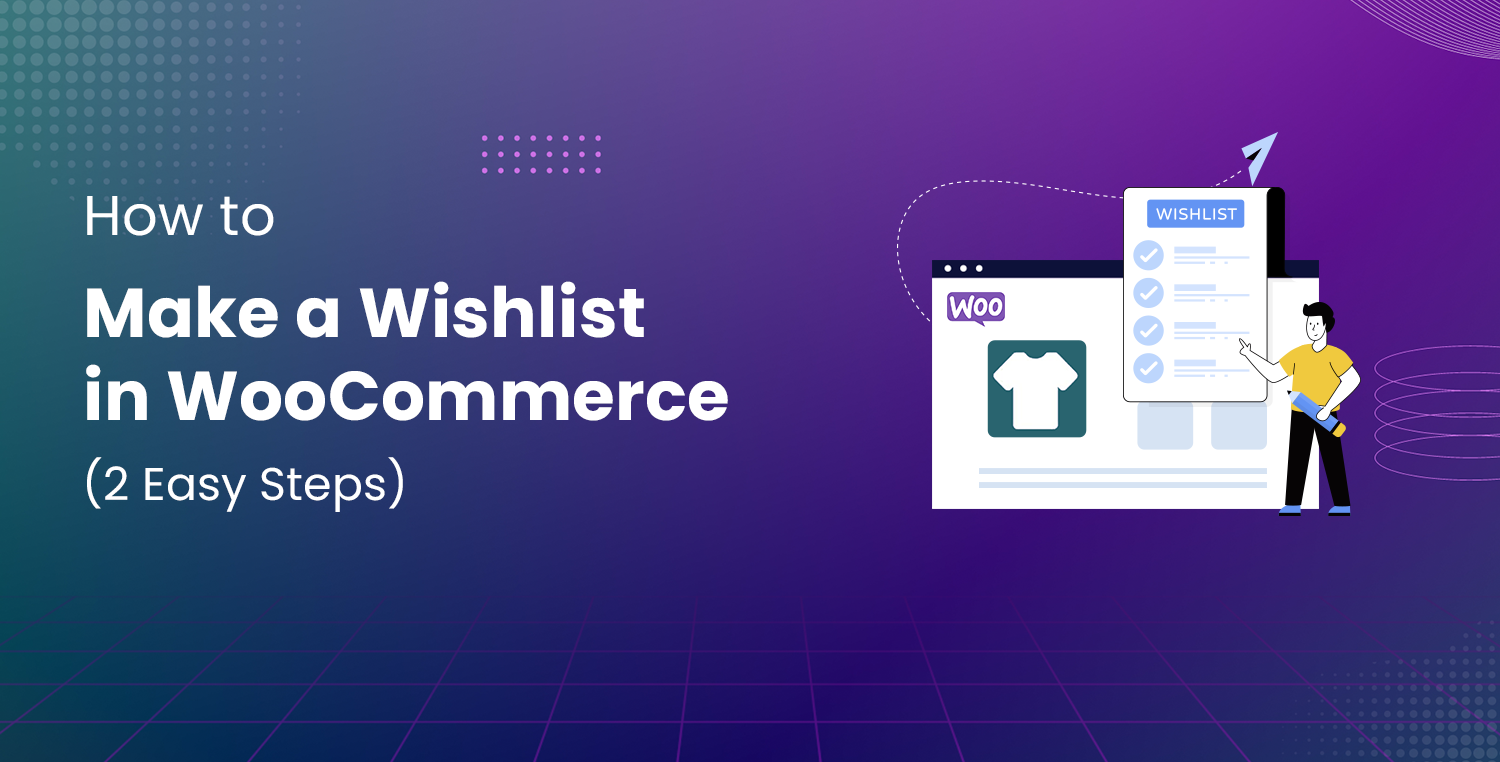
Adding a wishlist feature to your WooCommerce store can significantly improve customer engagement and sales.
A wishlist allows customers to save their favorite products, plan future purchases, and share their selections with family and friends. Whether it’s for special occasions like birthdays or holidays, wishlists create a more personalized shopping experience.
If you’re wondering how to implement this feature in your WooCommerce store, don’t worry—it’s simpler than you think. In this article, we will show you how to create a wishlist in WooCommerce using the WooCommerce Wishlist & Add to Favorite plugin in just two easy steps.
Why Create a Wishlist in WooCommerce?
Having a wishlist feature on your WooCommerce store offers numerous benefits for both you and your customers. Wishlists not only provide convenience but also encourage customer retention and increase sales conversions. Below are some key reasons why you should consider adding this feature:
- Enhanced Shopping Experience: Wishlists allow customers to save items they like but aren’t ready to purchase yet, providing them with a convenient way to keep track of products.
- Boost Customer Engagement: Customers can revisit their wishlist anytime, making it more likely for them to return to your store and complete their purchase.
- Increase Sales Conversions: By giving customers the option to share their wishlist on social media or with family and friends, you open the door to indirect advertising and potential new customers.
- Gift Planning: Wishlists are especially useful during gift-giving occasions like birthdays, weddings, and holidays. Customers can create a wishlist and share it with others, making it easier for their friends and family to buy the perfect gift.
- Product Popularity Insights: Store owners can analyze which products are most often added to wishlists, giving valuable insights into customer preferences.
- Customer Loyalty: Wishlists encourage customers to return to your store when they’re ready to buy, especially if they’ve been tracking product availability or price changes.
- Social Sharing Boosts Traffic: When customers share their wishlist on social networks, it helps drive traffic to your site, increasing the chances of new sales.
To achieve these benefits, we will use the WooCommerce Wishlist & Add to Favorite plugin, which makes adding a wishlist feature to your WooCommerce store incredibly easy.
WooCommerce Wishlist & Add to Favorite Plugin
The WooCommerce Wishlist & Add to Favorite plugin is a powerful tool designed to enhance customer engagement and boost your sales. With this plugin, your customers can easily add products to their wishlist and favorite list, share them on social media, and manage their wishlists directly from their account page. This plugin is packed with useful features to make managing and sharing wishlists simple and convenient.
Here are some of the key features of the plugin:
- Add to Favorite Button: Customers can mark their favorite products with a simple click using an “Add to Favorite” button that can be placed on both the shop page and individual product pages.
- Wishlist Sharing: Customers can share their wishlists on popular social networks like Facebook, Twitter, Pinterest, and Google+.
- Customizable Button: You can customize the “Add to Favorite” button by choosing its position (before or after the “Add to Cart” button), type (icon or label), and even the icon image (heart, star, or custom images).
- Favorites List Management: Customers can manage their favorite products from a dedicated “My Favorite Products” page, which is added to both the main menu and their dashboard.
- Multiple Product Management: Customers can remove or add multiple products to their cart directly from the wishlist.
- Custom Notification Messages: The plugin allows you to customize the notification messages shown when products are added or removed from the wishlist.
- Shortcodes for Flexibility: The plugin offers shortcodes for both the “Add to Favorite” button and the wishlist table, allowing you to place them anywhere on your site.
- Guest and Registered Users: The plugin works for both guest and registered users, with guest wishlists saved for up to 30 days.
- Social Sharing Module: By allowing social sharing, the plugin increases traffic to your store through indirect advertising.
These features make the WooCommerce Wishlist & Add to Favorite plugin an essential tool for any online store looking to improve customer interaction and drive more sales.
2 Easy Steps to Make a Wishlist in WooCommerce
Now that we’ve discussed why a wishlist is important and introduced the WooCommerce Wishlist & Add to Favorite plugin, let’s walk through the two simple steps to implement it on your WooCommerce store.
Step #1: Install and Activate the WooCommerce Wishlist & Add to Favorite plugin
To start using the wishlist feature, the first step is to install and activate the WooCommerce Wishlist & Add to Favorite plugin. Follow these instructions:
- Purchase the Plugin: Go to CodeCanyon and purchase the WooCommerce Wishlist & Add to Favorite plugin.
- Log in to WordPress: After purchasing the plugin, log in to your WordPress admin dashboard.
- Navigate to Plugins: On the left-hand menu of the dashboard, click on Plugins, then select Add New.
- Upload Plugin: Click on the Upload Plugin button at the top of the page. Choose the .zip file you downloaded from CodeCanyon after purchase.
- Install and Activate: Click Install Now, and once installed, click Activate. You will be prompted to enter your license key to fully activate the plugin.
- New Menu Item: After activation, a new menu item labeled Product Wishlist will appear on the left-hand side of your dashboard.

Now, you’re ready to configure the plugin settings to suit your store’s needs.
Step #2: Configure the Product Wishlist Settings
Once the plugin is installed and activated, the next step is to configure the settings. The plugin offers a variety of settings under two main sub-tabs: Favorite Products and Users Favorite List. We’ll go over each sub-tab and its sections in detail.
#1: Favorite Products Sub-Tab
This sub-tab allows you to control how the favorite products feature works on your WooCommerce store. Below are the key settings you’ll need to configure:
- General Settings
- Enable Favorite Products: Check this box to enable the wishlist functionality on your site.
- Favorite Products Title Type: You can choose between a label, an icon, or both to represent the title of the favorite products section.
- Show Link in Menu: Display a link to the customer’s favorite products list in your site’s main menu.

- Favorite Button Settings
- Position: Set the position of the “Add to Favorite” button. You can choose to display it before or after the “Add to Cart” button or even place it before the product title.
- Button Type: Choose whether the button is displayed as an icon, a label, or both.
- Icon Customization: Select from a heart, star, or custom icon for the button. You can also upload a custom image to represent the button.
- Notification Text: Customize the messages that appear when products are added or removed from the wishlist.

- Favorite Products Table
- Thumbnail Column: Display product thumbnails in the favorite products table.
- Product Details: Show product title, regular price, sale price, and stock status in the table.

- Favorite Products Drawer
- Enable Drawer: You can enable a drawer that allows users to view their favorite products on any page of your site. Customize its appearance using custom CSS.

- Social Sharing
- Enable Sharing Buttons: Add social media sharing buttons for platforms like Facebook, Twitter, Pinterest, and Google+.

#2: Users Favorite List Sub-Tab
This sub-tab manages how user-specific favorite lists function on your site. Below are the key settings:
- General Settings
- Enable User Favorite List: Check this box to allow users to create and manage their own favorite lists.
- Favorite List Page: Select the page where the favorite list will be displayed.
- Show Link in Menu: Display a link to the customer’s favorite products list in your site’s main menu.

- Users Favorite List Table Settings
- Table Colors: Customize the background, text, and border colors for the user’s favorite list table.
- Table Layout: Adjust padding, border size.

Final Remarks About Wishlist in WooCommerce
Adding a wishlist to your WooCommerce store is a simple yet effective way to increase customer engagement and sales. By allowing customers to save their favorite products and share their lists on social media, you create more opportunities for repeat visits and sales conversions.
The WooCommerce Wishlist & Add to Favorite plugin is an easy-to-use solution that brings these benefits to your store with minimal setup. With its customizable options, you can tailor the wishlist feature to match your store’s branding and functionality, ultimately leading to a better shopping experience for your customers.
So, what are you waiting for? Get the WooCommerce Wishlist & Add to Favorite plugin today and easily add a wishlist in WooCommerce.