WooCommerce, by default, sends several transactional emails, including order confirmations and customer invoices. However, the default emails may not reflect your brand identity or provide the best post-purchase experience.
Fortunately, using the Email Customizer for WooCommerce plugin, you can easily create professional, branded invoices and send them to your customers.
In this guide, we will walk you through how to send a tailored customer invoice in WooCommerce. You don’t need technical skills or any coding knowledge to complete these steps.
Let’s get started!
Why Should You Customize a WooCommerce Customer Invoice?
A customer invoice in WooCommerce is more than just an order confirmation. It helps you communicate key information about the transaction, ensure transparency, and provide your customers with the details they need. Sending a well-designed customer invoice through email offers several benefits for your business:
- Reinforces Your Brand: Custom invoices with your logo, color scheme, and typography reflect your store’s identity, helping to reinforce brand recognition.
- Improves Customer Communication: A clear, personalized invoice improves communication, giving customers all the necessary order details in a professional format.
- Encourages Repeat Purchases: You can include special offers or product recommendations in your invoice emails to boost customer retention.
- Enhances Customer Experience: Well-structured emails minimize confusion and provide a better post-purchase experience, ensuring customers return for future purchases.
Now, let’s explore how you can personalize customer invoices in WooCommerce via Email Customizer for WooCommerce Plugin.
Email Customizer for WooCommerce Plugin
The Email Customizer for WooCommerce plugin is a powerful tool that makes it easy to design and customize your WooCommerce order emails. Whether you’re looking to change the layout, add your logo, or personalize the message, this plugin simplifies the process with its drag-and-drop email builder.
The best part is that you don’t need any coding skills to create professional, branded emails. It comes with pre-designed templates, so you can start customizing right away.
Here are some of the key features of the plugin:
- Drag-and-drop builder: Allows you to customize your email templates visually without writing code.
- 12 pre-built templates: Ready-made email designs to help you get started quickly.
- Full customization options: You can tweak layouts, colors, fonts, and images to match your brand.
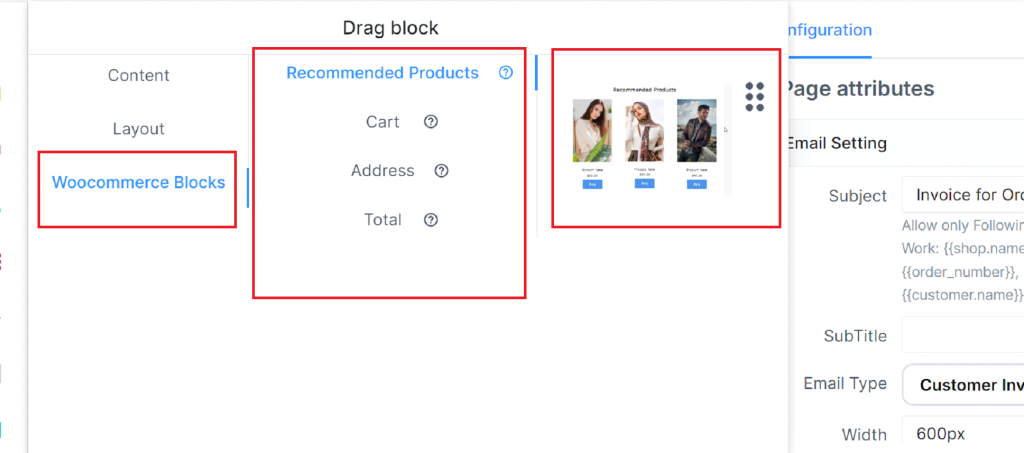
- WooCommerce-specific blocks: Include dynamic content such as order details, billing addresses, and recommended products.
- Mobile-responsive design: Your emails will look great on both desktop and mobile devices.
- Live preview: See the changes in real-time as you customize your email.
- Test emails: Send a test version of the email to check how it looks in real inboxes.
- Regular updates: Ensures compatibility with the latest version of WooCommerce.
Now that you know why and how this plugin can help, let’s move on to the step-by-step process to send customer invoices via email in WooCommerce
Step-by-Step Guide to Sending Customer Invoices in WooCommerce
We’ll break down how to send customer invoices in WooCommerce using the Email Customizer for WooCommerce Plugin in three simple steps.
Step #1: Install and Activate the Email Customizer for WooCommerce Plugin
To start sending customized invoices, you’ll need the Email Customizer for WooCommerce Plugin, which allows you to easily personalize your WooCommerce emails. Here’s how to install and activate it:
- Purchase the Plugin: Head over to CodeCanyon, purchase the Email Customizer for WooCommerce Plugin, and download the .zip file.
- Log in to Your WordPress Dashboard: Once downloaded, log in to your WordPress admin panel.
- Go to Plugins: From the left-hand menu, click on “Plugins,” and select “Add New Plugin.”
- Upload the Plugin: Click on the “Upload Plugin” button at the top and select the .zip file you just downloaded.
- Install and Activate: After the upload, click “Install Now,” followed by “Activate.” Once activated, you’ll be asked to enter your license key.
With the plugin activated, you can now start customizing your customer invoice emails in WooCommerce.
Step #2: Configure WooCommerce Customer Invoice Emails
Once the plugin is installed, you’ll need to configure it to ensure customer invoices are sent automatically and look the way you want. WooCommerce sends a variety of transactional emails, but for this article, we’ll focus on the Customer Invoice.
Here’s how to configure and select the WooCommerce invoice email:
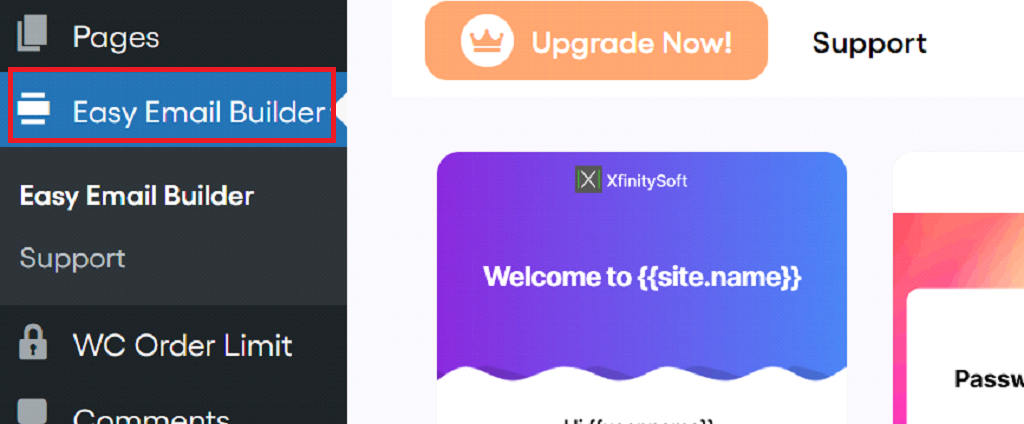
- Access the Plugin Settings: In your WordPress dashboard, a new menu called “Easy Email Builder” will appear. Click on it to enter the plugin’s settings.
- Go to the Emails Section: Navigate to WooCommerce > Settings > Emails to manage all your WooCommerce emails, including the “Customer Invoice” email.
- Enable the Customer Invoice Email: Make sure the “Enable” checkbox is selected for the customer invoice email. This allows WooCommerce to send the invoice automatically when an order is processed or manually created.
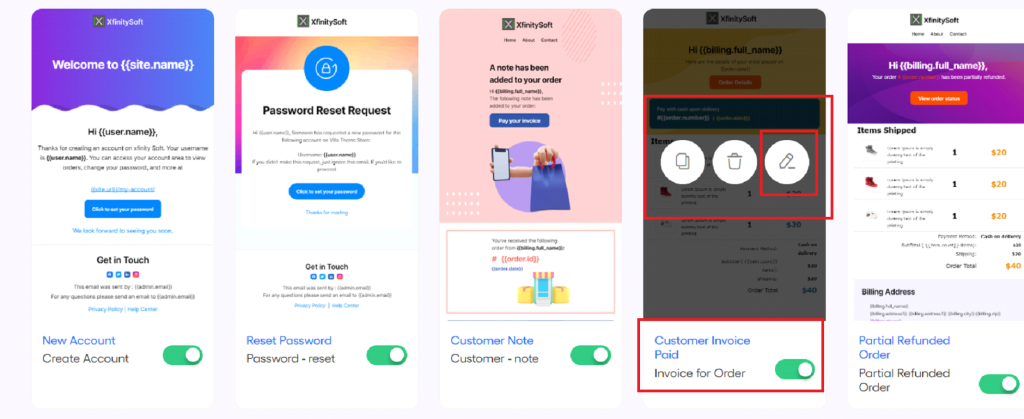
- Select the Email to Customize: In the plugin’s interface, you’ll see a list of WooCommerce transactional emails. Hover over the “Customer Invoice Paid” email and click the pencil icon to begin customizing the template.
Step #3: Customize the Customer Invoice Using the Plugin
The Email Customizer for WooCommerce Plugin offers a visual drag-and-drop builder, allowing you to easily personalize the customer invoice email template. Here’s how to make the most of it:
- Design the Layout: Start by designing the layout of your email. Use the drag-and-drop builder to add elements such as sections, columns, and content blocks. You can include headers, footers, and various content blocks to structure your email.
- Add Branding Elements: Insert your logo, choose your store’s color scheme, and select typography that aligns with your brand identity.
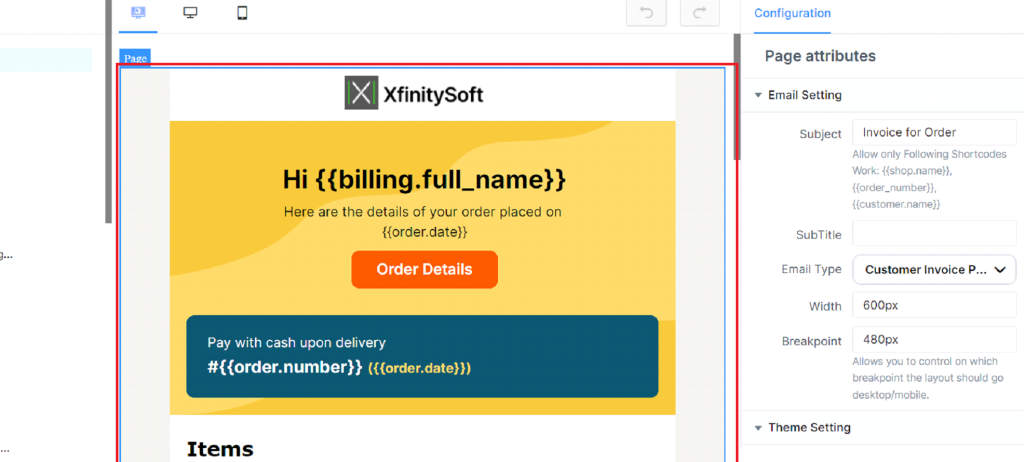
- Insert Content Blocks: Populate your invoice email with dynamic content blocks such as the customer’s name, order details, product information, billing and shipping addresses, and more. The plugin allows you to easily add WooCommerce-specific elements with a few clicks.
- Use WooCommerce Blocks: Add order-specific details like product images, prices, and quantities using WooCommerce’s dynamic blocks. This ensures that the invoice reflects accurate order information.
- Customize the Look: Adjust the look of your email by changing the fonts, colors, and button styles. You can personalize every element to ensure your emails match your brand’s aesthetics.
- Add a Personalized Message: Include a thank-you message or additional information in the invoice email. Use this space to highlight special offers or encourage customers to follow your social media accounts.
- Preview Your Changes: The Email Customizer plugin allows you to see a live preview of your changes. This lets you check how the invoice will appear on both desktop and mobile devices.
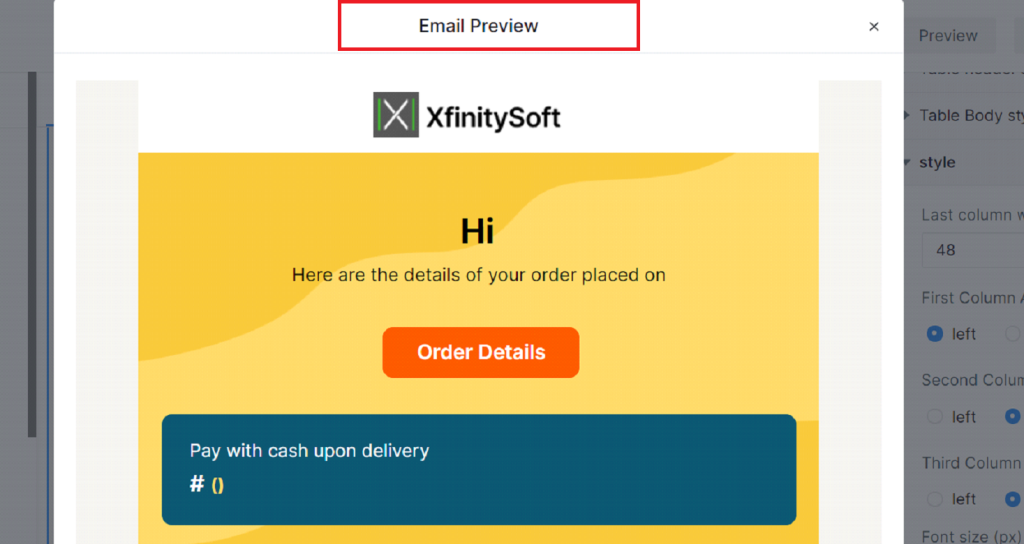
- Send a Test Email: Before saving the template, send a test email to yourself. This lets you verify that all the content displays correctly and ensures that the layout looks perfect in your inbox.
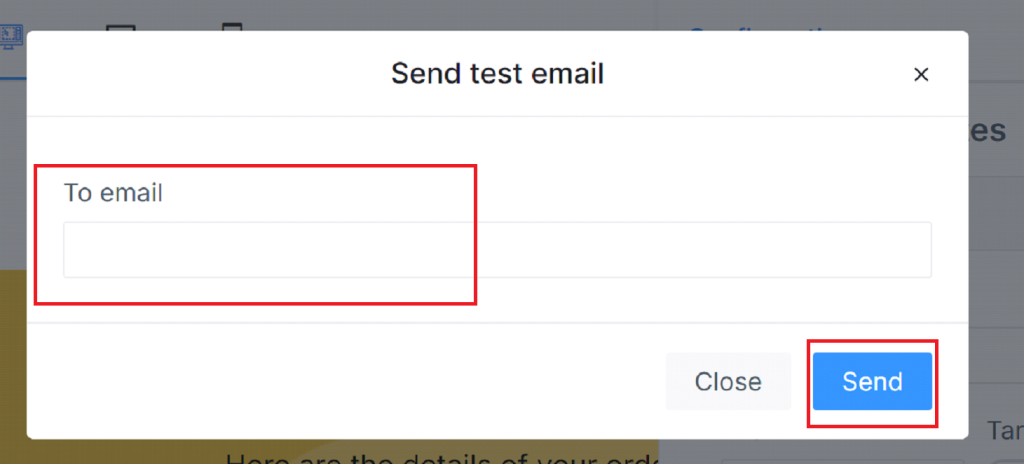
- Save and Apply the Template: Once you’re satisfied with the design and content, click “Save” to apply the changes. From now on, WooCommerce will send this customized customer invoice email whenever an order is processed.
Best Practices for Sending WooCommerce Invoices
Now that you know how to send customer invoices in WooCommerce, here are a few tips to ensure your process is smooth and efficient:
- Use Clear, Simple Language: Avoid jargon or complicated terms. Your invoices should be easy to read and understand.
- Include All Necessary Information: Ensure that your invoices contain essential details such as order number, product description, total cost, payment status, and shipping information.
- Add Branding: Customize your invoice to reflect your brand’s identity. Use your logo, company colors, and fonts to make the document instantly recognizable.
- Ensure Timely Delivery: Make sure that invoices are sent immediately after an order is placed or updated. This helps build trust with your customers and reduces confusion.
- Provide Payment Instructions: If payment is due, include clear instructions on how customers can complete their payments. This could be a simple “Pay Now” button for pending orders.
- Test Email Deliverability: Before relying on the automation, test your invoice emails to ensure they are reaching customers’ inboxes and not being flagged as spam.
💡You might want to read this 👉 How to Customize WooCommerce Order Emails [3 Easy Steps]
Final Thoughts on Customer Invoice in WooCommerce
Sending a customer invoice in WooCommerce via email doesn’t have to be a complex task. By using the Email Customizer for WooCommerce Plugin, you can easily create and send professional, branded invoices that reflect your store’s identity.
This plugin allows you to take full control over your email templates, giving you the flexibility to design visually appealing, functional invoices without needing any technical skills. Whether you’re managing a small online store or a large eCommerce site, using customized invoices will improve your customer communication, enhance their experience, and boost repeat sales.
So, if you want to take your WooCommerce store to the next level, start customizing your customer invoices today!

