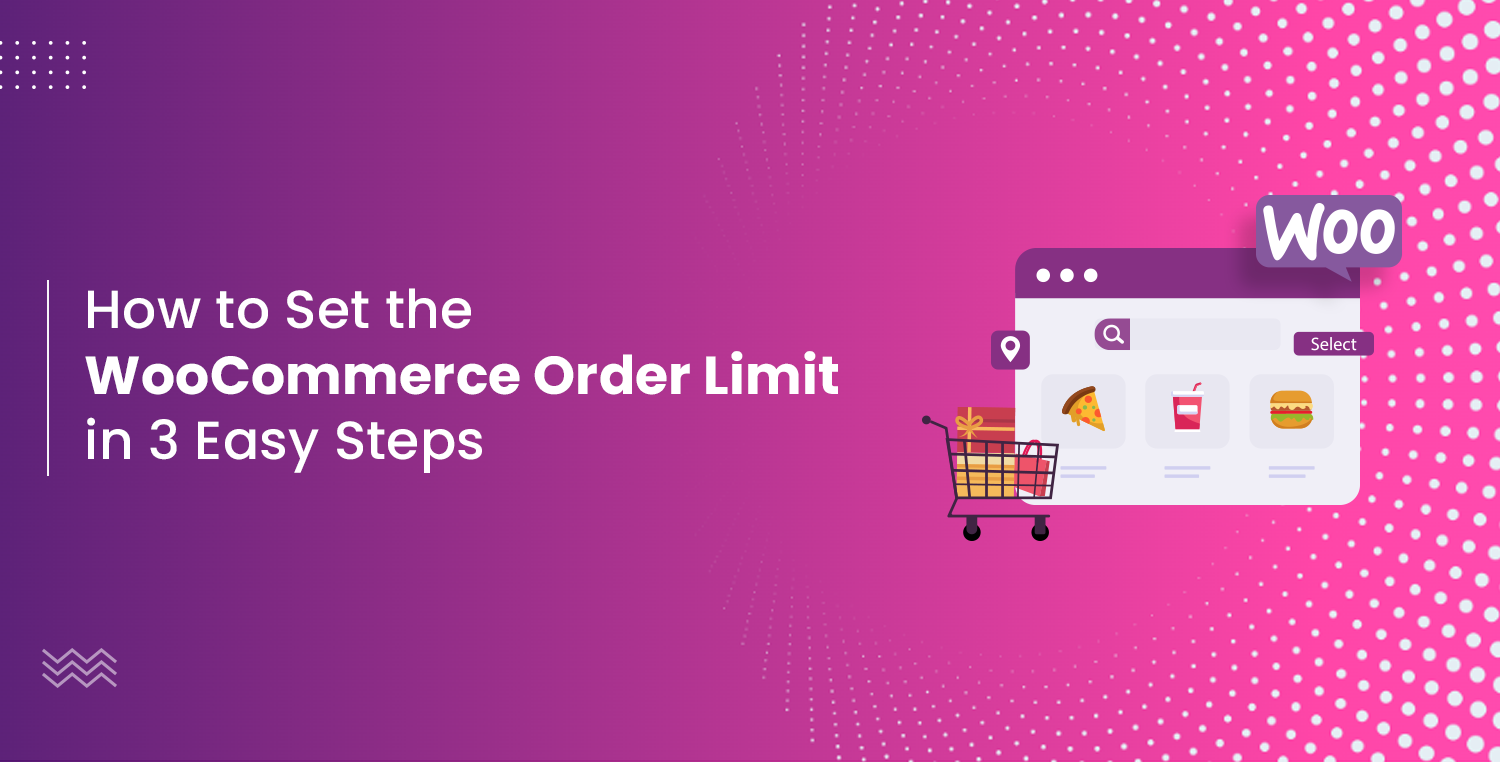
Setting the WooCommerce order limit for your store can help you manage inventory, control sales, and prevent over-ordering. But you are probably wondering how I can set a minimum or maximum order limit for my products.
Don’t worry! Whether you’re looking to limit orders on individual products, categories, vendors, or even the total cart value, the Order Limit for WooCommerce plugin makes this process more straightforward than you might think.
In this guide, we will walk you through three easy steps to set up WooCommerce order limits using the Order Limit for WooCommerce plugin.
Ready? Let’s get started!
Why Should You Add WooCommerce Order Limit?
Setting an order limit in your WooCommerce store isn’t just a random task—it’s a strategic move that can improve both your business operations and the customer experience. Whether you’re dealing with high-demand products or simply trying to maintain a smooth operation, order limits give you the control you need.
Here are some reasons why you should consider this savvy strategy:
- Prevent overbuying: Protect your inventory by preventing customers from purchasing more than you have in stock.
- Control Product Availability: Limit the purchase of scarce or high-demand items to ensure they are available for more customers.
- Improve Cash Flow Management: By setting minimum order limits, you can ensure that customers buy in quantities that are cost-effective for your business.
- Avoid Abuse of Discounts: Prevent customers from exploiting bulk discounts by setting a maximum order limit.
- Customize the Customer Experience: Tailor the shopping experience to different user roles by setting specific limits for various customer groups.
- Comply with Supplier Agreements: To ensure you meet supplier-imposed product quantity limits.
By implementing these limits, you can better manage your sales strategy and create a more structured shopping experience for your customers.
Prerequisites for Adding WooCommerce Order Limit
Before you can set WooCommerce order limits, ensure that your WooCommerce plugin is installed and set up. If you’re planning to apply vendor-specific order limits, you will also need the WC Vendors Pro plugin.
You must also meet the following requirements.
- WordPress 5.0. or higher
- Woocommerce 4.0 or higher
- PHP version 7.0 or higher
NOTE: The “Order Limit for WooCommerce” plugin is fully compatible with WC Vendors Pro, allowing you to easily control vendor-based order limits.
2 Easy Steps to Set the WooCommerce Order Limit
In the following three steps, we’ll guide you through the process of setting up order limits in your WooCommerce store. These steps involve installing the Order Limit for WooCommerce plugin and configuring the limits for a specific product, category, customer/user role, and global settings for your WooCommerce order limit.
Step #1: Install and Activate the Order Limit for WooCommerce Plugin
The first step in setting up order limits is to install and activate the Order Limit for WooCommerce plugin. This plugin is designed to help you set minimum and maximum order quantities for products, categories, vendors, customers, and the total cart value.
Follow the steps below:
- Access the WordPress Dashboard: Log in to your WordPress admin area.
- Navigate to Plugins: Go to the “Plugins” section on the left-hand sidebar.
- Search for the Plugin: Click on “Add New Plugin” and search for “Order Limit for WooCommerce.”
- Install the Plugin: Once you find the plugin, click the “Install Now” button.
- Activate the Plugin: After the installation is complete, click the “Activate” button to enable the plugin on your site.

After the plugin has been enabled., you’re ready to start configuring your WooCommerce order limits.
Step #2: Apply the WooCommerce Order Limit
Now that the plugin is installed and activated, it’s time to set the order limits according to your requirements. The “Order Limit Lite for WooCommerce” plugin provides several options for setting limits, which can be applied to products, categories, the total cart value, and specific customer roles.
How to Access the Plugin:
- Go to WordPress Dashboard Sidebar: A new option labeled “WC Order Limit” will appear in the sidebar.
- Create the Rule: Under the “WC Order Limit,” select “Add Rule,” and give your new rule a name. As shown in the screenshot below.

- Choose the Rule Type: From the dropdown, you can choose three options.
- Product Rules
- Category Rules
- Customer Rules (this option is only available in the premium version)
Let’s explore all of the three ways to apply the WooCommerce order limit.
#1: On Products
To set order limits on individual products:
- Select a Product: For the “Products Rules” rule type, select the product type and items for which you want to set a limit.

- Set the Order Limit: Select the minimum order limit and specify whether you want to apply this limit based on the quantity or amount spent. Also, click on the “More Options” link to set the maximum limit, time spans, etc.

- Save Changes: After configuring the limits, click the “Save” button to apply the settings.
This ensures that customers can only purchase the specified quantity of this product.
#2: On Categories
To set order limits for product categories:
- Go to Categories: Select “Categories Rules” from the dropdown.
- Choose a Category: Select the category or multiple categories you want to apply the limit to.

- Configure the Limit: Set the minimum and maximum order quantity or amount for that category. Also, set the time span settings, just like you did for the products.

- Save Changes: Click “Save” to apply the limits.
This option helps you manage order limits across a group of products, ensuring consistency in your inventory control.
#3: According to the Customer/User Role
To apply order limits based on customer roles:
- Access Customer Rules: Select “Customers Rules” from the dropdown.
- Choose a User Role: Select the role (e.g., wholesale, retail, subscriber, guest user) that you want to apply the limit to.
- Set the Limit: Define the minimum and maximum order quantities for that user role.

- Set Time Span: click the “More Options” link to enable the time span.

- Save Changes: Click “Save” to enforce the limits.
Don’t forget to publish the rule by clicking the “Publish” button on the right-hand side of the screen.
Step #3: Configure Global Order Limits for Your Store
Now, we will focus on configuring the global order limits for your WooCommerce store. These settings will help you establish overarching rules that apply across your entire store, giving you more control over order quantities, values, and overall store management. By setting these global limits, you can ensure that all orders placed in your store adhere to specific guidelines, regardless of individual product or category settings.
Here’s how to set up the global order limits:
#1: Store Limit Settings
The Store Limit Settings allow you to define global rules that apply to the total orders placed in your store within a specified time frame. These settings take precedence over individual product, customer, or category limits.

- Enable for Store Closed: This option lets you temporarily close your store when you anticipate stock shortages or need time to manage your inventory. By enabling this, no orders can be placed until the store is reopened.
- Store Total Amount Maximum Limit: This setting ensures that the total value of orders in your store does not exceed a specified maximum limit during a set period. It’s ideal for controlling overall sales volume.
- Store Total No. of Orders Maximum Limit: Use this to limit the total number of items ordered within your store during the chosen time frame. This can be particularly useful during peak sales periods.
- Enable Time Span: This option allows you to specify a time span for the above limits. You can choose from Daily, Weekly, Monthly, Yearly, or even set a custom time frame with specific start and end dates.
#2: Order Total Settings
Order Total Settings apply to every cart in your store, ensuring that individual orders meet specific criteria before they can be completed.

- Cart Total Minimum Limit: Set a minimum cart value that must be met for an order to proceed. This ensures that customers cannot place orders below a certain value, helping to maintain profitability.
- Enable Cart Total Single Category Limit: By enabling this setting, you can control the number of items within a single category that can be added to a cart. This helps manage inventory within specific product categories.
- Enable Cart Total Maximum Limit: This setting lets you define a maximum limit for cart totals, either by total items in the cart or by the total cart value. It’s useful for preventing bulk orders that may deplete your stock quickly.
#3: Advanced Option to Add Custom Message
This feature allows you to customize the message displayed to customers when they attempt to place an order that does not meet the specified order limits.

- Access the Advanced Settings: Navigate to the “Advanced” tab in the plugin settings.
- Customize the Message: Here, you can write a custom message that will appear when an order doesn’t comply with the set limits. This message can provide guidance or suggest alternatives to the customer.
- Save Changes: After crafting your message, click “Save Changes” to apply it.
This option helps improve customer communication and can reduce cart abandonment by providing clear instructions or reasons for order limitations.
Use Shortcodes to Display and Track Order Limits
After configuring your WooCommerce order limits, you need to display these limits directly on your store pages or track the remaining limits in real-time. The “Order Limit for WooCommerce” plugin provides useful shortcodes that allow you to do just that. Below, we’ll explain how to use these shortcodes effectively.
1. Displaying Order Limits with the Global Shortcode
To show the order limits you’ve applied to products, categories, or customer roles on a specific page, you can use the global shortcode:
Shortcode: [wc-order-limit rules=”rule_ids”]
How It Works: When you insert this shortcode on a page, it displays the limits associated with the rule IDs you specify. This shortcode supports multiple rule IDs, allowing you to showcase various limits across your store. You can customize the text message displayed with this shortcode in the “Advanced” tab of the plugin settings.
Example: If you want to display the limits for rules with IDs 1, 2, 3, and 4, you would use the following shortcode:
[wc-order-limit rules=”1,2,3,4″]
2. Tracking Remaining Limits with the Remaining Limit Shortcode
If you need to show customers the remaining limits for specific products, categories, or customer roles, you can use the remaining limit shortcode:
Shortcode: [wc-order-limit-remaining rule=”rule_id”]
How It Works: This shortcode displays the remaining order limit for the rule specified by the rule ID. It’s particularly useful for informing customers how much more they can purchase before hitting the set limit.
Example: To display the remaining limit for a rule with the ID 29695, you would use:

[wc-order-limit-remaining rule=”29695″]
By integrating these shortcodes into your WooCommerce store, you can effectively communicate order limits to your customers, helping you manage expectations and improve the shopping experience.
Final Thoughts on WooCommerce Order Limit
Setting up order limits in WooCommerce is a smart move that can help you manage your store more effectively. It’s not just about preventing over-orders or keeping high-demand items in stock; it’s about creating a more controlled and streamlined shopping experience for your customers.
With the “Order Limit Lite for WooCommerce” plugin, you can easily set up these limits in just a couple of steps. Whether you’re setting limits for individual products, entire categories, or specific customer roles, the process is straightforward and customizable.
If you need any help, feel free to submit a support ticket via the “Support” tab in the plugin settings. We are always ready to help!